


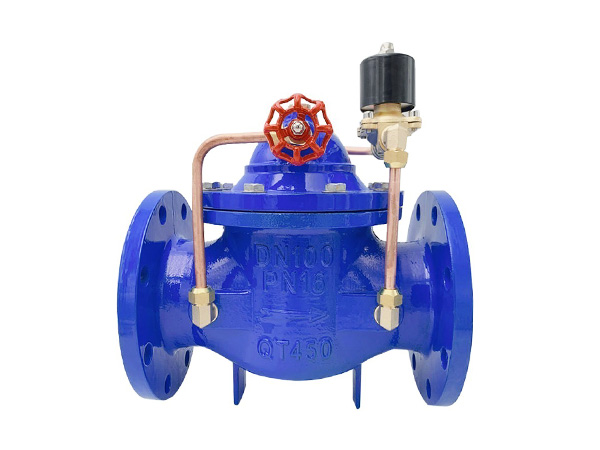
How to install wafer butterfly valve correctly?
Author:bohansi Time:2026-06-23 22:14:55 Click:130
Correct installation directly determines sealing performance, service life and safety operation of wafer butterfly valves. Different from lug and flanged butterfly valves, wafer type has no independent threaded lugs, which brings special requirements for flange matching, bolt assembly, alignment and pipeline stress elimination. Improper installation easily causes valve jamming, medium leakage or valve body falling off during maintenance (Foster, 2022).
1. Pre-installation Inspection
First, check all valve parts for damage during transportation: rubber liner, butterfly disc, valve shaft and actuator must be intact without scratch, crack or deformation. Clean internal pipeline thoroughly to remove welding slag, metal chips, sand and other hard impurities; foreign matters will scratch the elastic seal and lead to permanent leakage after commissioning.
Verify matching parameters: the nominal diameter, pressure class and flange standard of two pipe flanges shall be consistent with the wafer valve. Unequal flange thickness, irregular flange sealing surface or mismatched bolt hole pitch will cause uneven clamping force. Confirm the applicable medium temperature and pressure meet working conditions before assembly.
2. Pipeline Flange Preparation
The two pipe flanges must be parallel and concentric; the flatness error of sealing surface should be controlled within 0.5 mm. Remove burr, welding bumps and rust on flange sealing faces. Do not use uneven or corroded gaskets between flange and valve body — wafer butterfly valves rely on built-in rubber liner for sealing, and extra gaskets will break the sealing fit.
Reserve enough installation space on both sides for later actuator maintenance and valve disassembly. Wafer butterfly valves can be mounted horizontally or vertically, but vertical installation with actuator upside down is forbidden, which will accelerate shaft corrosion and actuator failure.
3. Clamping & Bolt Tightening Steps
Place the wafer butterfly valve centered between two flanges, align all through holes of valve body with flange bolt holes. Pass long full-thread bolts through the holes sequentially; ensure bolts are clean and complete with matched flat washers and spring washers.
Tighten bolts by diagonal cross sequence instead of clockwise circular order, which guarantees uniform pressure around the whole valve sealing circumference and avoids local liner extrusion deformation. Tighten bolts in 2–3 rounds gradually with a torque wrench according to the valve pressure grade: low-pressure PN10/PN16 valves adopt moderate torque, while excessive torque will crush rubber liner and shorten service life.
After primary tightening, rotate the valve disc fully open and close several times to test flexible operation. If jamming occurs, loosen bolts slightly, re-center the valve body and re-tighten diagonally.
4. Auxiliary & Safety Installation Rules
Support heavy pipelines separately with pipe brackets. Do not let the wafer butterfly valve bear the weight of front and rear pipes; pipeline gravity will deform the thin valve body and create sealing gaps.
For pneumatic/electric wafer butterfly valves, install actuators after valve body clamping is finished. Adjust stroke limit switches to ensure the disc fully fits the sealing surface at closed position without over-compression.
For high-temperature or corrosive media, add heat insulation and anti-corrosion protection around the valve shaft to prevent medium leakage from shaft packing.
Do not weld flanges after clamping the valve; welding high temperature will age and melt the internal rubber seal, resulting in complete sealing failure. All pipeline welding and cooling must be finished before valve installation.
5. Pressure Test & Post-installation Check
After installation, carry out hydraulic tightness test according to standard pressure grade. Keep the valve in fully closed state for static pressure holding inspection; check flange joint and shaft position for dripping or seepage. If leakage appears, re-tighten bolts diagonally.
Test full opening and closing cycle repeatedly to confirm no stuck, loose or abnormal shaking. Mark the valve switch direction and medium flow arrow on pipeline for later operation reference.
Common Installation Mistakes to Avoid
Using unmatched flanges or adding extra gaskets between valve and flanges.
Tightening bolts in circular order causing uneven seal compression.
Letting pipeline weight press on the thin wafer valve body without independent supports.
Welding flanges after clamping the valve, damaging rubber liner by high heat.
Installing actuator vertically downward without effective waterproof protection.
1. APA 7th Edition
Foster, G. (2022). Standardized installation procedure and error analysis of wafer butterfly valves in industrial piping. Journal of Construction Engineering and Management, 148(7), 04022045.
2. MLA 9th Edition
Foster, Gary. "Standardized Installation Procedure and Error Analysis of Wafer Butterfly Valves in Industrial Piping." Journal of Construction Engineering and Management, vol. 148, no. 7, 2022, p. 04022045,
3. GB/T 7714-2015
[1] Foster G. Standardized installation procedure and error analysis of wafer butterfly valves in industrial piping[J]. Journal of Construction Engineering and Management, 2022, 148(7): 04022045.
 HOT PRODUCT
 CONTACT US