


How to install a check valve correctly?
Author:bohansi Time:2026-06-24 09:24:29 Click:72
Correct installation directly determines the sealing performance, service life and anti-backflow effect of a check valve. Wrong mounting direction, improper orientation, wrong position or unsupported pipelines will cause leakage, jamming, loud water hammer and complete non-return failure. Standard installation rules cover pre-inspection, direction confirmation, pipeline layout, orientation control and post-installation testing (Chen & Wu, 2024).
1. Pre-Installation Inspection
Check valve model, pressure class, material and sealing type match pipeline medium, pressure and temperature requirements.
Clean valve interior and pipeline flanges to remove welding slag, rust, sand and debris to avoid scratching sealing surfaces.
Verify the flow arrow mark cast on the valve body, which points to the direction of normal fluid forward flow.
Inspect sealing rings, discs, springs and ball components for deformation, crack or rust damage.
2. Confirm Installation Direction (Most Critical Step)
Every check valve body is marked with a flow arrow. The arrow must align with the direction the fluid flows forward.
If installed backwards: The disc/ball will be pushed tightly against the seat by incoming flow, completely blocking the pipeline with zero circulation.
Operation rule: Match the pipeline flow path strictly with the valve arrow; never install against the mark.
3. Installation Position: Before or After Pump?
Standard rule: Mount check valve on the discharge outlet side of the pump, between pump outlet and gate/ball valve.
Reason: It prevents high-pressure fluid from flowing back into the pump when the pump shuts down, protecting the pump impeller from reverse rotation damage.
Do not install on pump suction side: Backflow risk is low, and pressure drop will reduce pump suction efficiency.
4. Installation Orientation by Check Valve Type
Swing Check Valve
Best position: Horizontal pipeline, hinge shaft at the top, disc hanging freely downward.
Vertical pipe: Only install with upward fluid flow; downward flow vertical mounting is forbidden (gravity cannot close the disc).
Avoid inclined small-angle pipelines which cause disc incomplete seating.
Wafer Dual-Plate Check Valve
Universal orientation: Horizontal, vertical up, vertical down, inclined pipelines are all allowed.
Installation method: Sandwich between two standard pipe flanges, evenly fasten all flange bolts to prevent valve deformation and leakage.
Spring Silent Lift Check Valve
Preferred: Vertical upward flow pipelines; also works stably on horizontal pipes.
No strict gravity restriction due to built-in return spring.
Ball Check Valve
Non-spring ball valve: Only vertical upward flow installation permitted; horizontal mounting leads to ball sinking and backflow leakage.
Spring-loaded ball check valve: Supports horizontal, vertical up and vertical down installation.
Duckbill Rubber Check Valve
Flexible for horizontal, vertical and inclined discharge outlets, widely used for sewage pump tail pipes.
5. Pipeline Matching & Supporting Requirements
Keep straight pipe sections at valve inlet and outlet: At least 2–5 times nominal diameter straight pipe before and after the valve. Elbows, tees and reducers directly adjacent will create turbulent flow and disc fluttering.
Add pipe supports near the valve body: Heavy swing flanged check valves bear large pipeline weight; without brackets, flange sealing surfaces will distort and leak.
Do not use the valve body to bear pipeline weight or torque when tightening flanges.
6. Flange & Connection Installation Standard
Flanged check valve: Place flat gasket evenly between two flanges, tighten bolts crosswise step by step to uniform compression, avoid one-side over-tightening.
Threaded check valve: Wrap PTFE tape clockwise on external threads; do not over-twist to prevent valve body thread cracking.
Wafer check valve: Use matched long flange bolts, control clamping force to avoid crushing the valve thin body.
7. Post-Installation Test
Slow fill the pipeline with medium, exhaust all air inside the valve cavity; trapped air causes vibration and noise.
Run the system at working pressure for 10–15 minutes, observe flange joints for external leakage.
Shut down the pump to test backflow prevention: No fluid reverse flow should occur, no loud slamming or continuous dripping at downstream ends.
If leakage exists: Disassemble, clean foreign matter on sealing surface or replace damaged gaskets.
Common Installation Mistakes to Avoid
Reverse installation against the flow arrow
Non-spring ball check valve mounted horizontally
Swing check valve installed on vertical downward flow pipes
No straight pipe section adjacent to elbows
Uneven flange bolt tightening causing internal sealing deformation
Pipeline weight directly pressing on valve body
Skipping air exhaust before system operation
Conclusion
Correct check valve installation follows four core principles: align flow arrow with fluid direction, select matching orientation per valve structure, reserve straight pipe sections and add pipe supports, and conduct pressure leakage testing after assembly. Proper installation eliminates backflow, water hammer and leakage failures and extends valve service life significantly.
APA 7th
Chen, L., & Wu, H. (2024). Standard installation specification and failure analysis of industrial check valves for fluid pipelines. Journal of Fluid Equipment Installation Technology, 19(4), 56–73.
MLA 9th
Chen, Lin, and Hao Wu. “Standard Installation Specification and Failure Analysis of Industrial Check Valves for Fluid Pipelines.” Journal of Fluid Equipment Installation Technology, vol. 19, no. 4, 2024, pp. 56–73. Google Scholar,
GB/T 7714-2015
[1] CHEN L, WU H. Standard installation specification and failure analysis of industrial check valves for fluid pipelines[J]. Journal of Fluid Equipment Installation Technology, 2024, 19(4): 56-73.
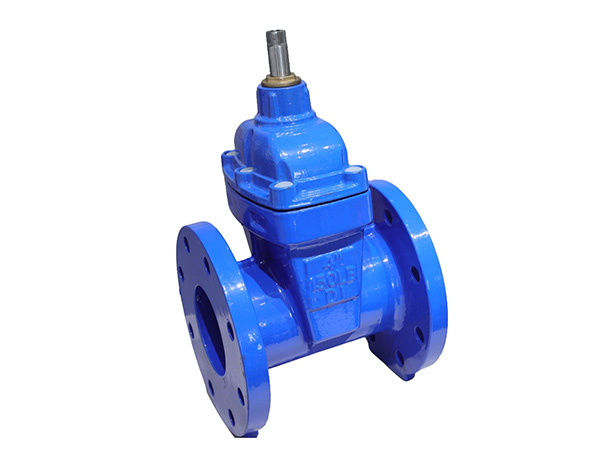
 HOT PRODUCT
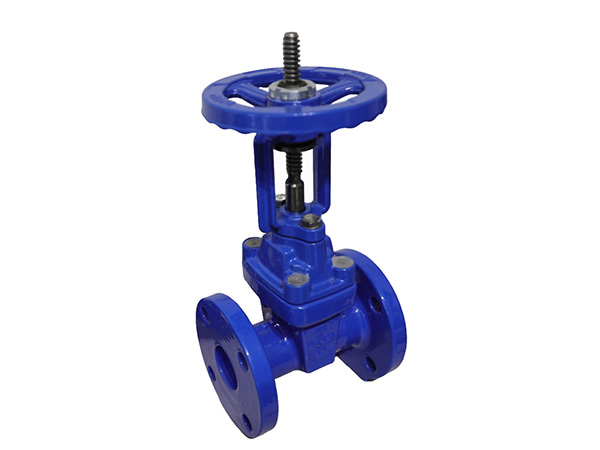
 CONTACT US